Step-by-Step Instructions
Whether you’re beautifying your bathroom, upgrading your glam station, or transforming your bedroom, a perfectly hung vanity mirror is the star of the show. Yet, as central as the mirror is to creating a functional and chic space, proper installation is surprisingly under-explained. This complete guide provides step-by-step instructions for anyone looking to hang a vanity mirror, whether wall-mounted or tabletop. Dive in to learn essentials on measuring and marking, choosing anchors and brackets, avoiding common mistakes, and discovering the tools and pro tips you truly need—no guesswork, just gorgeous results.
Wall-Mounting vs. Tabletop: Choosing the Right Vanity Mirror Setup
Before you get started with your vanity mirror installation, decide whether a wall-mounted vanity or a tabletop model fits your needs and space best. Each style comes with its own pros, considerations, and aesthetic impact.
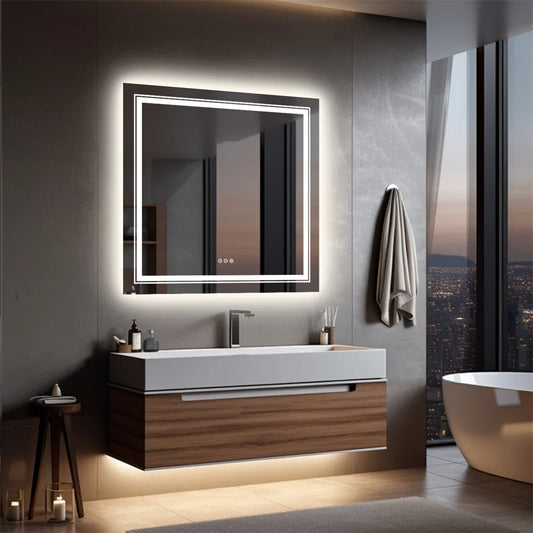
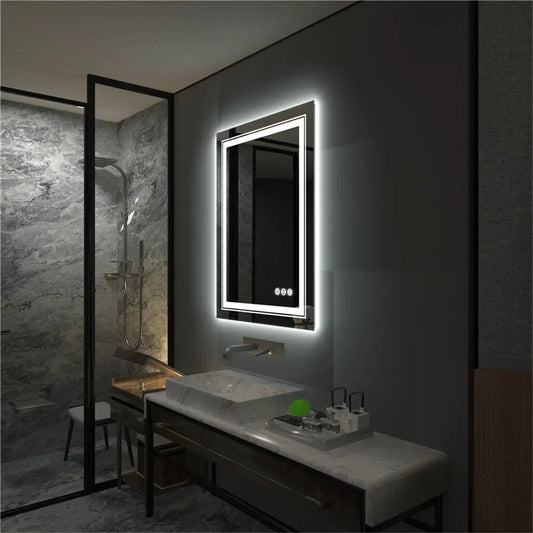
Wall-Mounted Vanity Mirrors: These are ideal for maximizing surface space on your vanity and creating a clean, modern look. Wall-mounted options are especially great for small bathrooms or bedrooms, providing seamless integration above sinks or vanity tables. Plus, features like adjustable lighting are often better utilized when the mirror is stably mounted at eye level.
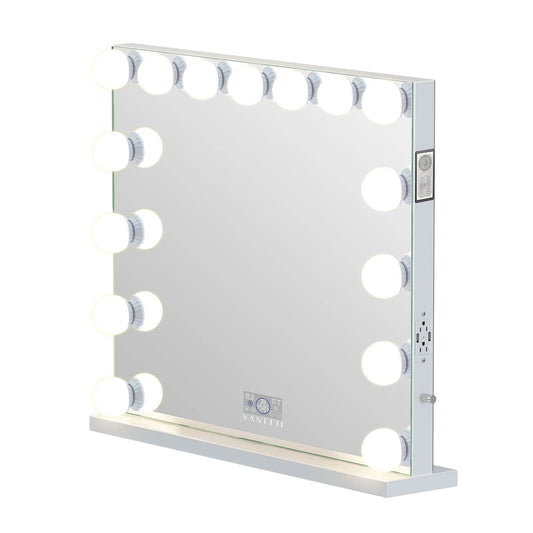
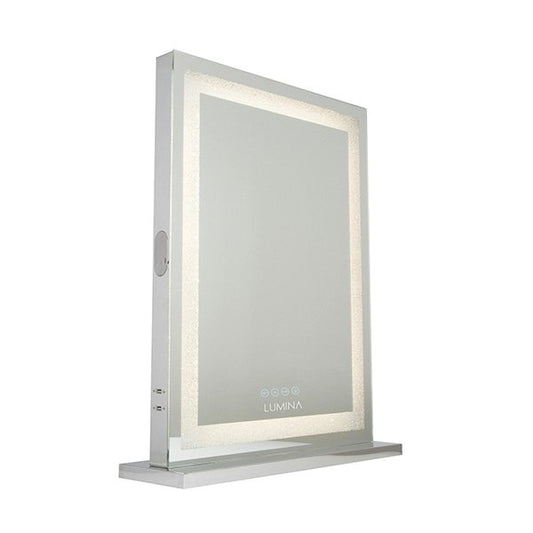
Tabletop Vanity Mirrors: If you love flexibility, a tabletop mirror lets you reposition your setup whenever you rearrange your beauty station. Tabletop options are often freestanding and may include handy trays or compartments for cosmetics, but they do take up space on the vanity top and can be knocked over if not sturdy.
When choosing between a wall-mounted vanity and a tabletop alternative, consider the available wall space, lighting sources, mirror size, your daily routine, and—if you’re in a rental—what’s permissible for wall fixtures. If you’re curious about versatile options with sleek lines and built-in lighting, check them out here for inspiration. Ultimately, your choice sets the stage for how you’ll install your vanity mirror, so start by deciding which fits your life and layout best.
Tools Needed for Vanity Mirror Installation
Jumping right into hanging a vanity mirror without the right tools is a recipe for frustration—or a trip to the hardware store mid-project. Here’s what you’ll need for a smooth, safe, and efficient installation, whether wall-mounted or tabletop.
- Measuring Tape: For precise placement and even spacing.
- Level: Absolutely necessary for a straight, professional-looking mirror installation.
- Pencil: To gently mark mounting points on your wall without causing damage.
- Drill and Drill Bits: If you’re mounting into drywall, you’ll need the right bit size for your wall anchors and screws.
- Screwdriver: Both Phillips and flathead, depending on your wall bracket or anchor style.
- Stud Finder (optional but recommended): Finding wall studs offers the most secure anchor point for heavier mirrors.
- Wall Anchors and Screws: Choose the type and size appropriate for your wall material and mirror weight (more on this ahead!).
- Brackets, Clips, or Mounting Hardware: Use the support included with your mirror, or upgrade to stronger supports if needed.
- Masking Tape: Handy for catching dust or temporarily marking the wall.
- Soft Cloth and Glass Cleaner: To polish your vanity mirror after installation.
- Helper: Larger mirrors are best installed with an extra pair of hands to prevent accidental drops or crooked placement.
Setting up a sturdy, beautiful wall-mounted vanity mirror doesn’t require professional tools—but using the right equipment ensures your result is as flawless as your morning makeup routine. Gather your tools before starting, and you’ll cut down on stress and increase your chances of achieving that “designer finish.”
Measuring and Marking: The Foundation of Flawless Hanging
Successful vanity mirror installation always starts with careful measuring and marking. Skipping these steps is the number one reason mirrors end up crooked, off-center, or at the wrong height—a common mistake that’s easily avoided.
Step 1: Choose the Center Point
Decide where you want the center of your mirror to align on your wall, above your vanity or bathroom sink. For single vanities, the mirror typically centers above the faucet or the main portion of the vanity table. Double vanities may require two mirrors or one extra-wide mirror—choose what visually balances the space best.
Step 2: Mark Eye Level
The ideal height for a wall-mounted vanity is for the center of the mirror to rest at eye level—the average is about 5 feet (60 inches) from the floor, but always measure for the household members who use the mirror most. If your mirror boasts integrated LEDs or accent lighting like the VanitiGlow Slim Wide Vanity Mirror, ensure the lights frame your face for perfect makeup or grooming application.
Step 3: Measure Mounting Points
Check your mirror’s back for pre-installed brackets or hanging D-rings. Use a tape measure to determine the distance between mounting hardware, making sure to account for any required offset from the mirror’s edge. Mark these points on the wall using a pencil, double-checking for level by placing a straight level horizontally or vertically along your marks.
Step 4: Plan for Outlets and Fixtures
If your wall-mounted vanity mirror requires power (many lighted mirrors do), be sure your plan allows ample access to nearby outlets without visible cords. Mark the wall so mirror edges frame outlets neatly or hide them behind the mirror for a tidy appearance. Also, account for light switches or sconces within reach.
Pro tip: For an extra-wide mirror or for unconventional shapes, cut a cardboard template to match the mirror’s dimensions. Tape it lightly to the wall and step back to visualize before committing to drilling holes.
Taking the time to plan and mark ensures every other step in your vanity mirror installation goes smoothly, and helps you avoid common mistakes further down the line.
Anchors and Brackets: Selecting and Securing the Right Hardware
No matter how spectacular your mirror, it will only shine as safely as its support system allows. Choosing the correct anchors and brackets is critical, especially if your wall-mounted vanity mirror carries substantial weight or includes integrated lighting.
Why Hardware Matters
The right anchors and brackets will prevent sagging, crookedness, and, most importantly, catastrophic falls. Too many installations suffer from inadequate drywall anchors, which may initially hold but can slip or fail over time—particularly once you start cleaning or adjusting your mirror.
Selecting the Best Anchors:
- Drywall Anchors: If you’re drilling into drywall, use specialty wall anchors rated for your mirror’s weight. Toggle bolts, molly bolts, or heavy-duty plastic anchors are excellent choices for most medium-sized mirrors.
- Stud Mounting: Finding a wall stud using a stud finder is always preferable. Securely mounting one or more screws into studs offers unrivaled support, especially for large or heavy wall-mounted vanity mirrors with lighting elements.
- Tile or Concrete: For bathrooms or walls with tile, masonry anchors and a masonry drill bit are required—normal wood or drywall screws won’t hold here.
Choosing Brackets and Supports:
- D-Rings and Hanging Wire: Many modern mirrors, including those with LED frames, arrive ready to hang with D-rings. These attach to screws or hooks on the wall; be sure the rings are installed level on the back of the mirror.
- French Cleats: For a flush, ultra-professional look on heavier mirrors, French cleats are easy to install and distribute weight across a wide area.
- Mirror Clips: Fixed mirror clips at the top and bottom secure slim or frameless mirrors without visible interference. They work well for mirrors that aren’t extremely heavy and allow for easy removal when cleaning.
- Integrated Bracket Systems: Some mirrors, especially XL glam mirrors like the VanitiGlow Grand XXL RGB, feature factory-installed mounting plates or unique systems. Always use the hardware provided by reputable brands—it’s designed to maximize safety and longevity.
Installation Steps:
- Double-check your marked mounting points for level and spacing.
- Drill pilot holes for anchors, taking care not to drill too deep or wide for your anchor type.
- Install wall anchors securely—flush with the wall, not sticking out or loose.
- Screw in brackets, hooks, or cleats, making sure everything sits snug and secure.
- Hang your mirror, ensuring it’s stable and seated properly on all supports.
Quality hardware is your secret insurance policy for a wall-mounted vanity mirror that stays as stunning as it was on day one. For mirrors with extra weight or lighting features, always err on the side of stronger, higher-rated anchors—especially if you’re installing above sinks or high-traffic vanity tables.
Common Mistakes in Vanity Mirror Installation (and How to Avoid Them)
Even the most beautiful vanity mirror can suffer from a few classic pitfalls during installation. Here’s how to sidestep those issues for a truly flawless result:
- Skipping the Stud Finder: Drywall alone may not bear the weight of larger wall-mounted vanity mirrors. Always check for studs and use them whenever possible, especially for hefty mirrors or those with built-in lighting.
- Misaligned Markings: Rushing the measuring and marking phase is the fastest way to end up with a crooked or off-center mirror—and patching up mistakes can be messy. Always confirm your marks with a level and measure twice before drilling.
- Incorrect Anchor Use: Don’t underestimate mirror weight; misuse of lightweight anchors is one of the biggest vanity mirror installation missteps. When in doubt, opt for a larger anchor or one rated for higher weights.
- Neglecting Wire and Cord Management: For lighted mirrors, exposed cords can detract from the sleek style you’re aiming for. Position your mirror to minimize visible wiring, and use cable clips or covers as needed for a tidy finish.
- Forgetting the Helper: Trying to hang a wall-mounted vanity mirror solo can result in dropped glass or uneven mounting. For mirrors over 24 inches wide, always ask someone to assist with lifting and leveling.
- Ignoring Manufacturer’s Instructions: Every mirror—especially those with custom hardware—may have unique mounting needs. Read any included instructions thoroughly, and keep all parts on hand as you begin. This is an area often overlooked, leaving DIY-ers guessing about installation best practices.
- Not Testing Stability: Once your mirror is up, gently wiggle to be sure all anchors are secure. If there’s any movement, remove and upgrade anchors before daily use.
- Over-Tightening Screws or Brackets: Too much pressure can crack the glass or damage frames, especially on delicate, decorative mirrors. Tighten until secure, but don’t force hardware past resistance.
Steer clear of these errors, and your vanity mirror will become a functional work of art, enhancing your routines day in and day out.
Safety Tips for Hanging a Vanity Mirror
Any vanity mirror installation should put safety first. Mirrors are heavy, fragile objects—here’s how to ensure everyone and everything stays protected during your wall-mounted vanity project:
- Secure Your Workspace: Clear the area of makeup, brushes, and fragile items. Give yourself room to maneuver, especially if using a ladder or step stool.
- Protective Gear: Wear safety glasses when drilling, particularly into tile or concrete, to prevent flying debris. Gloves are a smart addition if handling sharp mirror backs.
- Teamwork: As mentioned earlier, ask a helper to hold either end of the mirror during placement for stability and to prevent dropping.
- Lift Carefully: Bend at the knees and keep your back straight—mirrors may be deceptive in weight, especially oversized wall-mounted vanities.
- Mind Electrical Components: For mirrors with built-in lighting, always check power cords before plugging in. Never install wiring or power near damp surfaces without professional help.
- Double-Check Before Mounting: Before finally hanging your mirror, confirm that all anchors, brackets, and supports are firmly in place. If something feels loose, address it before risking installation.
- Test Regularly: Once installed, periodically check the stability of your mirror as part of your cleaning routine. Look for signs of shifting, cracking, or loosening brackets—address any issues immediately.
Attentive safety habits prevent damage and injuries, so you can enjoy your gleaming new wall-mounted vanity stress-free for years to come.
Step-by-Step Instructions: Hanging a Vanity Mirror with Confidence
Now that you’re equipped with knowledge about styles, hardware, safety, and the most common mistakes, it’s time to walk you through the actual step-by-step process of vanity mirror installation. Follow these directions for a secure and beautiful display, every time:
-
Assemble Tools and Materials:
Refer back to our tools list and gather everything before you start, including anchors, brackets, drill, level, and your mirror.
-
Prepare the Wall:
Clean the wall area thoroughly, removing any dust or debris for secure hardware contact. Use painter’s tape to mark the general area if you want to avoid pencil marks.
-
Measure and Mark:
Identify where your mirror will be centered and mark the top and/or sides as needed. Check for studs or prepare for drywall anchor placement. Always use a level to double-check all marks and lines.
-
Install Anchors or Brackets:
Drill pilot holes at each marked location. Insert the correct type of anchors (toggle, molly, or expansion), pressing flush against the wall. Attach mounting brackets or supports as specified by your mirror manufacturer.
-
Hang or Place the Mirror:
With a helper’s assistance, gently lift the mirror onto the wall anchors or bracket system. For D-ring or French cleat systems, be sure the mirror is fully seated before releasing your hold. For tabletop placement, place your vanity mirror in its chosen spot and adjust for optimal angle and lighting.
-
Check for Level and Security:
Once mounted, use your level again to confirm straightness. If adjustments are needed, now’s the time. Test the mirror’s stability with a gentle push or wiggle—there should be no movement at the supports.
-
Clean and Style:
Wipe down the mirror with glass cleaner and set up your vanity essentials. Plug in lighting, ensuring cords are out of sight and safe from water.
This process is designed to apply whether you’re working in a compact city bathroom, a grand dressing room, or a shared family space. For statement mirrors with advanced features, such as built-in LED lighting or extra-large sizing, see this option for expert-crafted mounting solutions that streamline the process.
Final Styling Touches: Show Off Your New Vanity Mirror
Properly hanging your wall-mounted vanity is only the beginning. Elevating your whole vanity experience means considering what surrounds your mirror, too. After the installation dust settles, take a few minutes for these styling upgrades:
- Lighting: Layer accent sconces, overhead lighting, or use an illuminated vanity mirror for the perfect glow—absolutely crucial for makeup application or shaving. If your mirror offers dimmable or color-adjustable lighting, test settings right away.
- Surface Styling: Arrange your cosmetics, brushes, and skin care neatly along your vanity. Minimal clutter allows your new mirror to shine as the room’s centerpiece.
- Wall Décor: Complement bold or mirrored surfaces with simple wall art, floating shelves, or greenery. Keep visuals balanced for a spa-like effect.
- Functional Extras: Install a small shelf or tray nearby to catch frequently used items—this works especially well for tabletop or hybrid vanity setups.
With these finishing touches, your vanity mirror area won’t just serve your routine—it’ll inspire it.
Key Takeaways for a Flawless Vanity Mirror Installation
Hanging a vanity mirror isn’t just about screwing hardware into a wall—it’s about elevating your everyday routine and reinforcing your space with both beauty and practicality. With careful measuring and marking, the right anchors and brackets, attention to classic installation mistakes, and pro-level safety habits, you’ll set your wall-mounted vanity or tabletop option up for years of use and admiration.
Remember these essentials:
- Choose your mirror’s placement and mounting style to suit your routine, space, and style.
- Have the right tools—and an extra set of hands—before starting.
- Always take your time measuring, marking, and aligning for the most polished result.
- Prioritize safety and follow all manufacturer’s instructions.
- Finish with thoughtful lighting and styling touches to let your space, and your own reflection, glow.
If you’re searching for mirrors that blend style, functionality, and ease of installation, explore expertly-designed options and step-by-step guides for every style on Luminapro.co. Here’s to your next-level vanity mirror installation, and the beauty of seeing your best self reflected every day.


